 Last Christmas we received quite a few cards from our friends and family. Seeing as I did not have an official “christmas card holder” I just taped them up to the basement door. It did not look too bad, quite festive actually. However, this year I wanted something a little more formal.
During one of my nightly Pinterest perusals, I came across this DIY Christmas craft that I thought could be turned into a card holder! The instructions seemed very simple, plus the materials were minimal and cheap.
Materials 1/2 yard of cherry holiday fabric 1 large piece of foam board Ribbon or string Glue gun and glue sticks Instructions
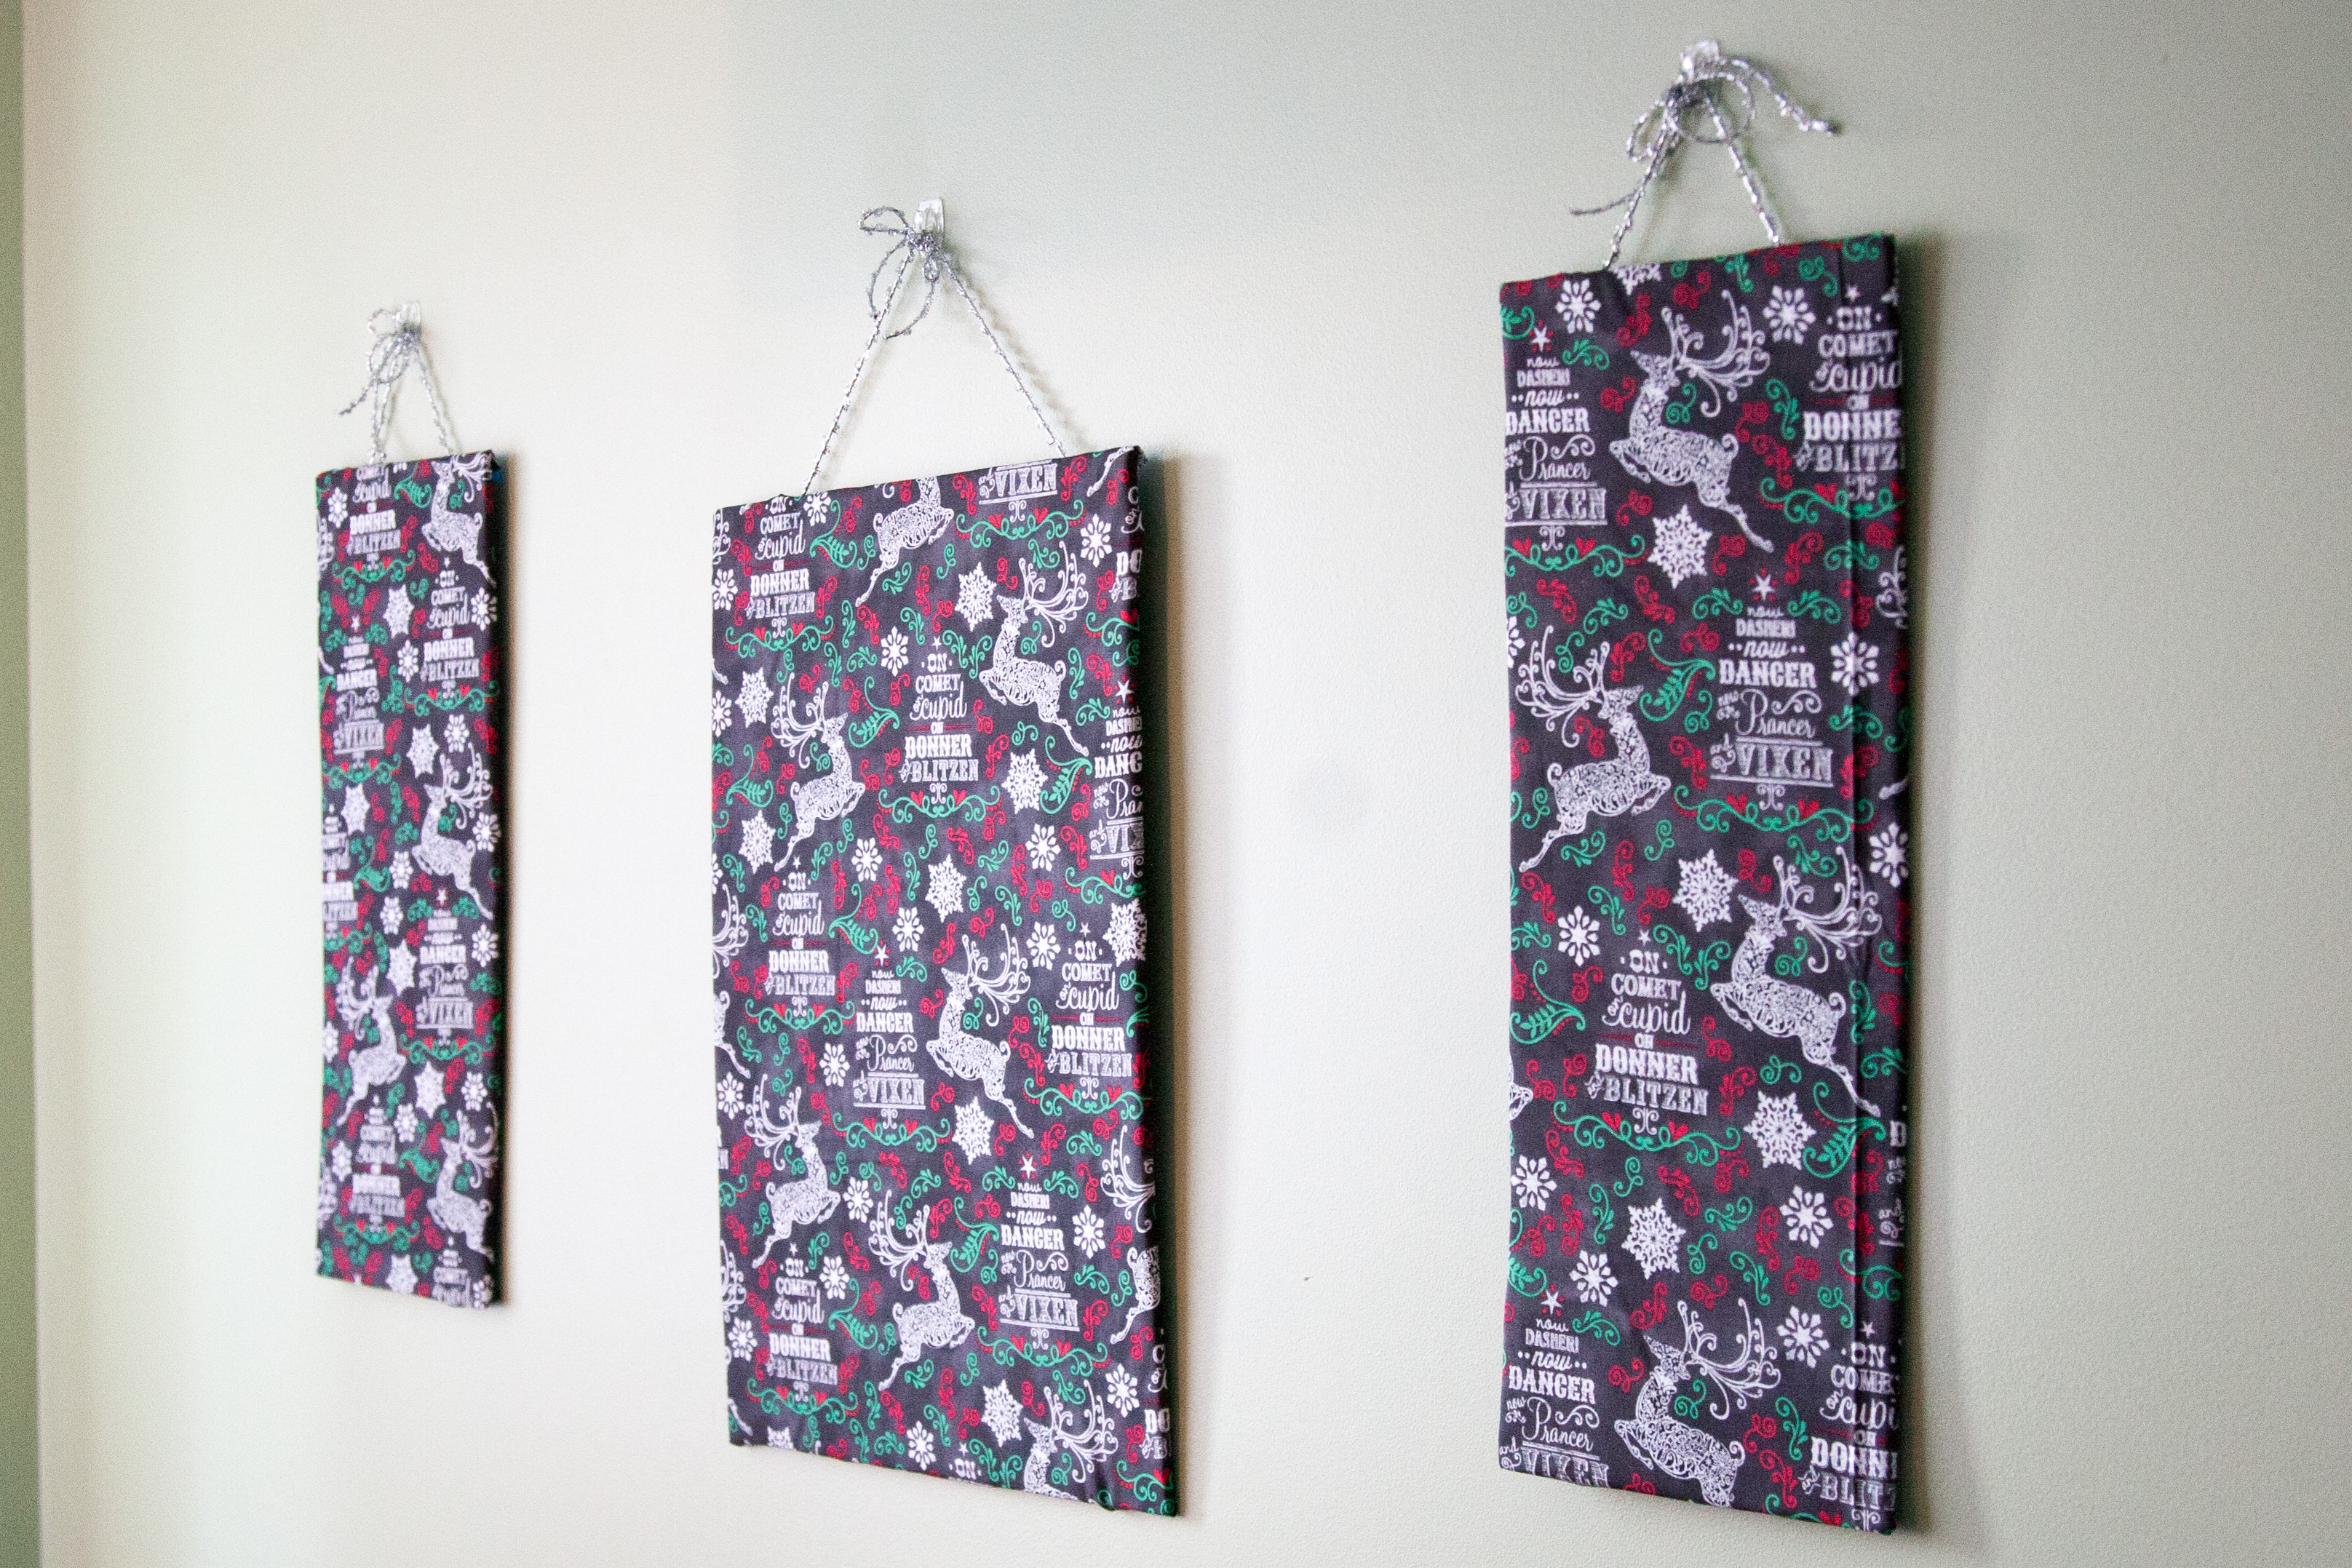
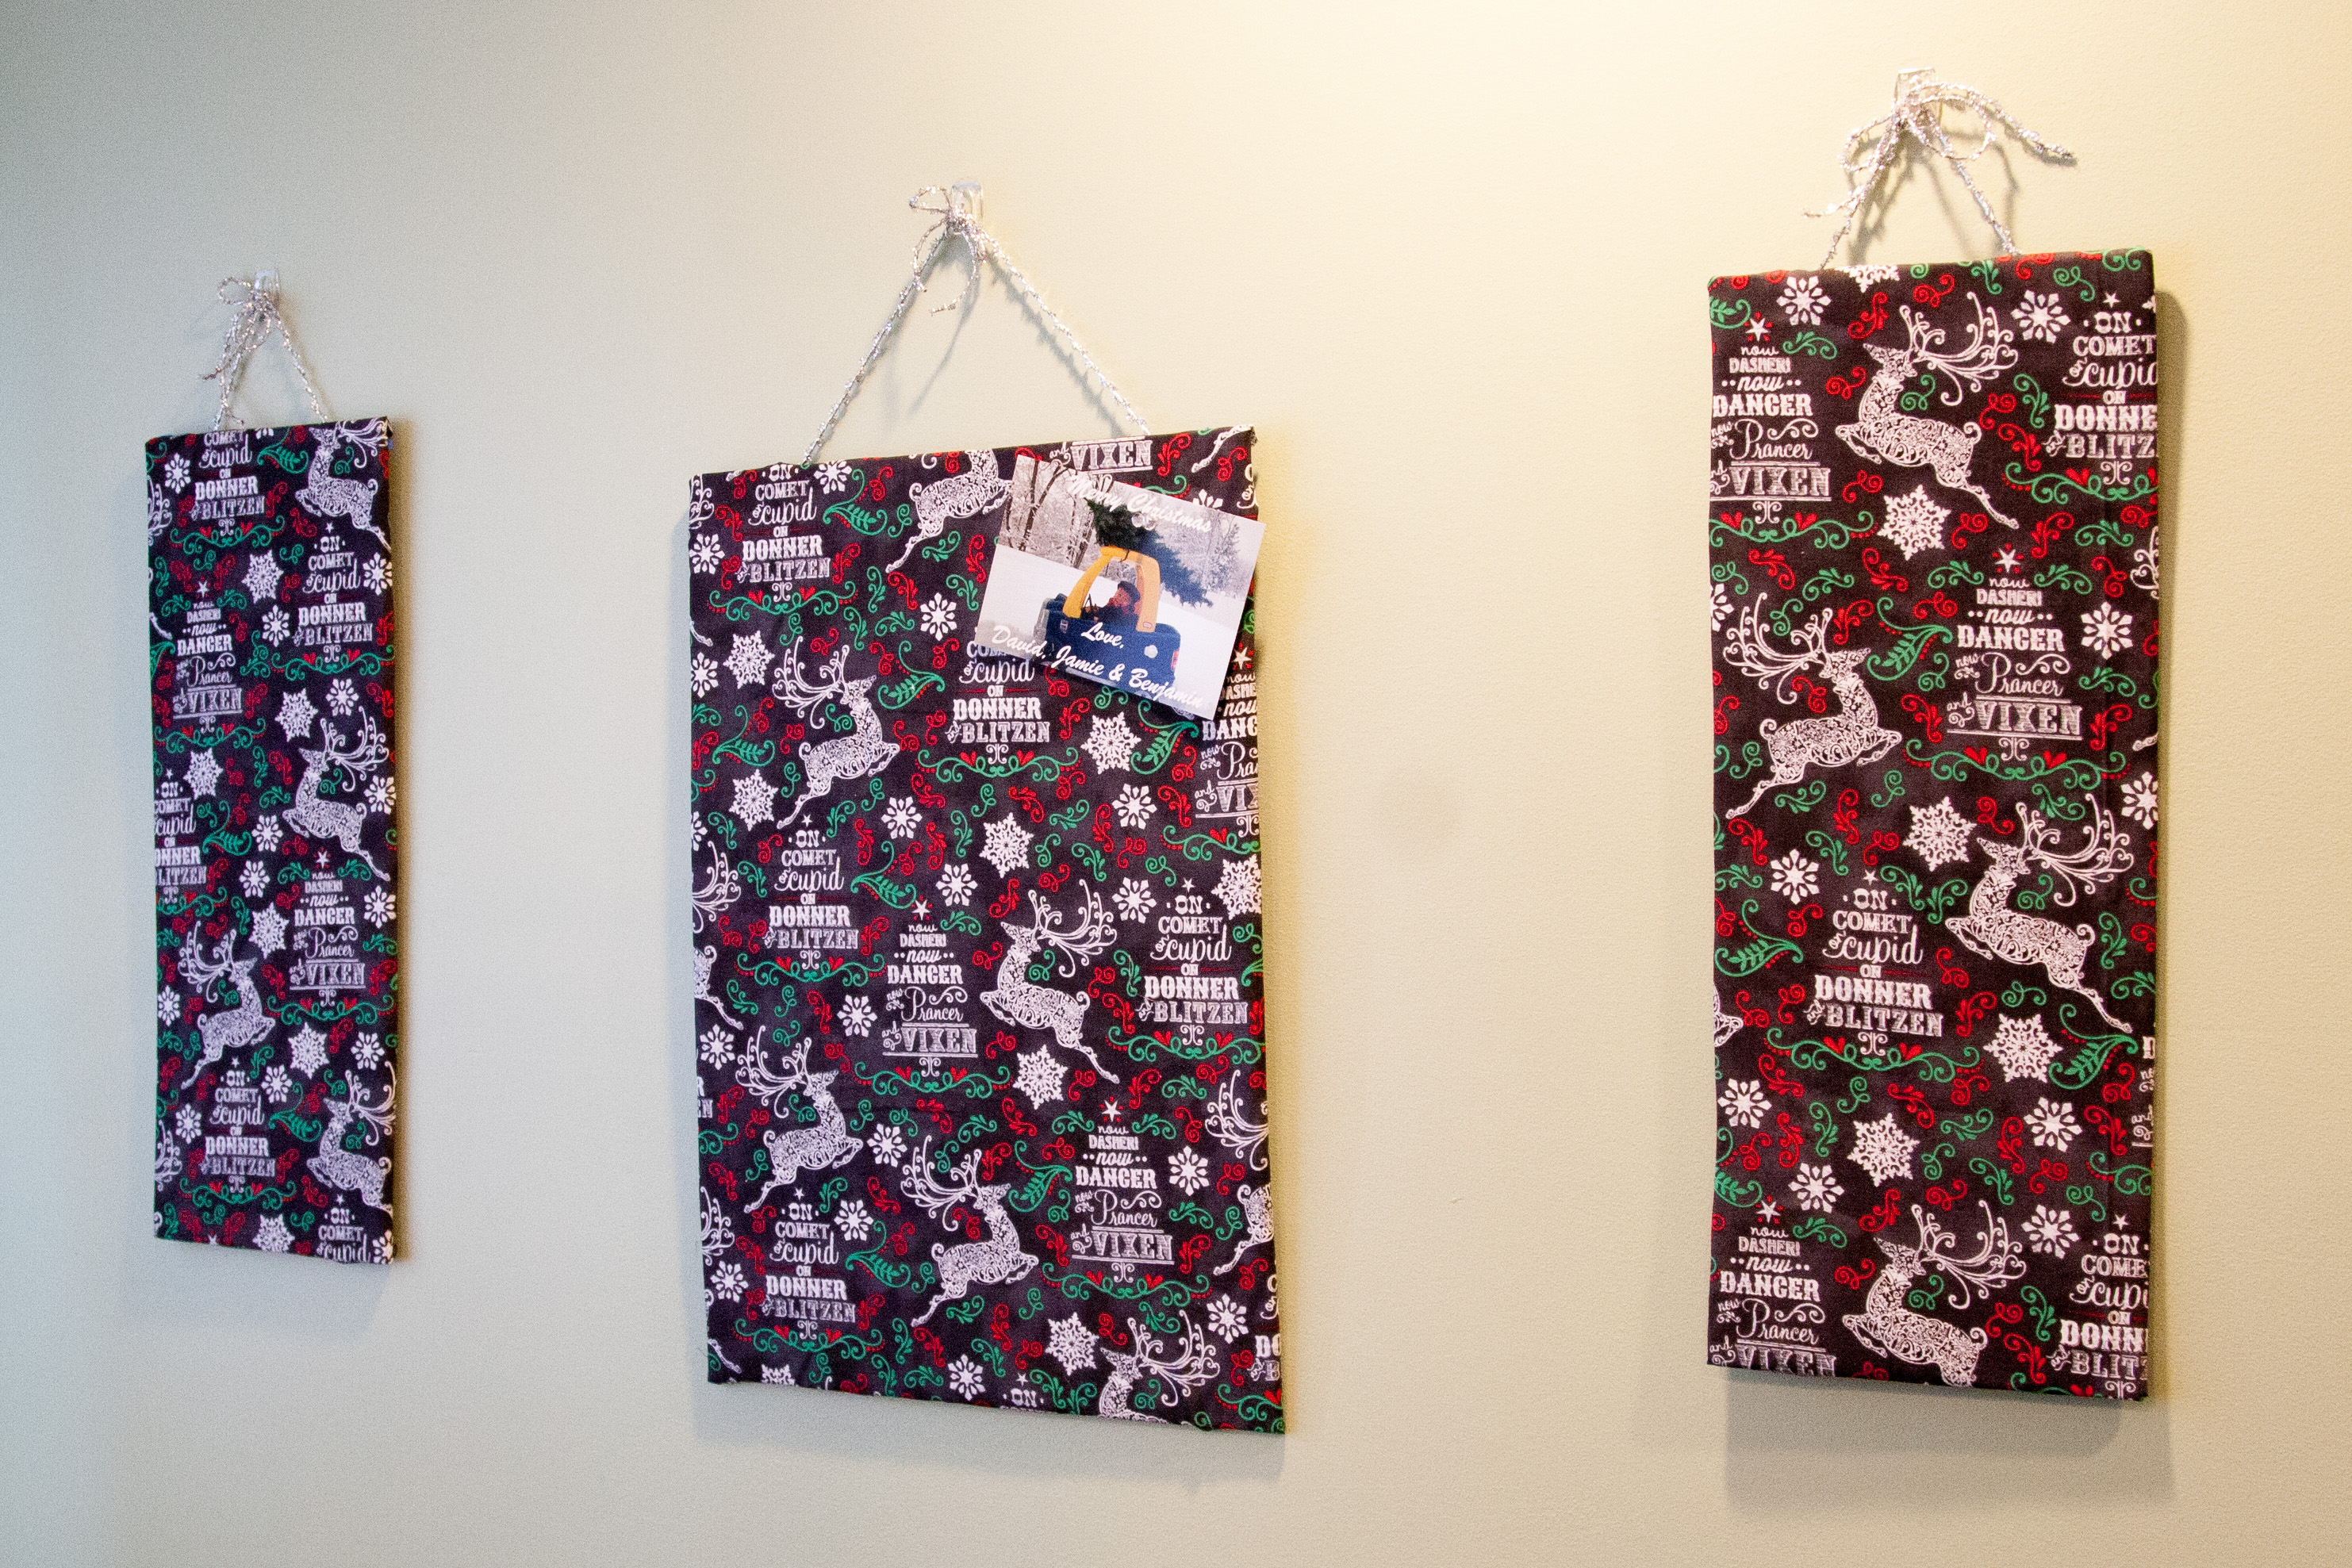
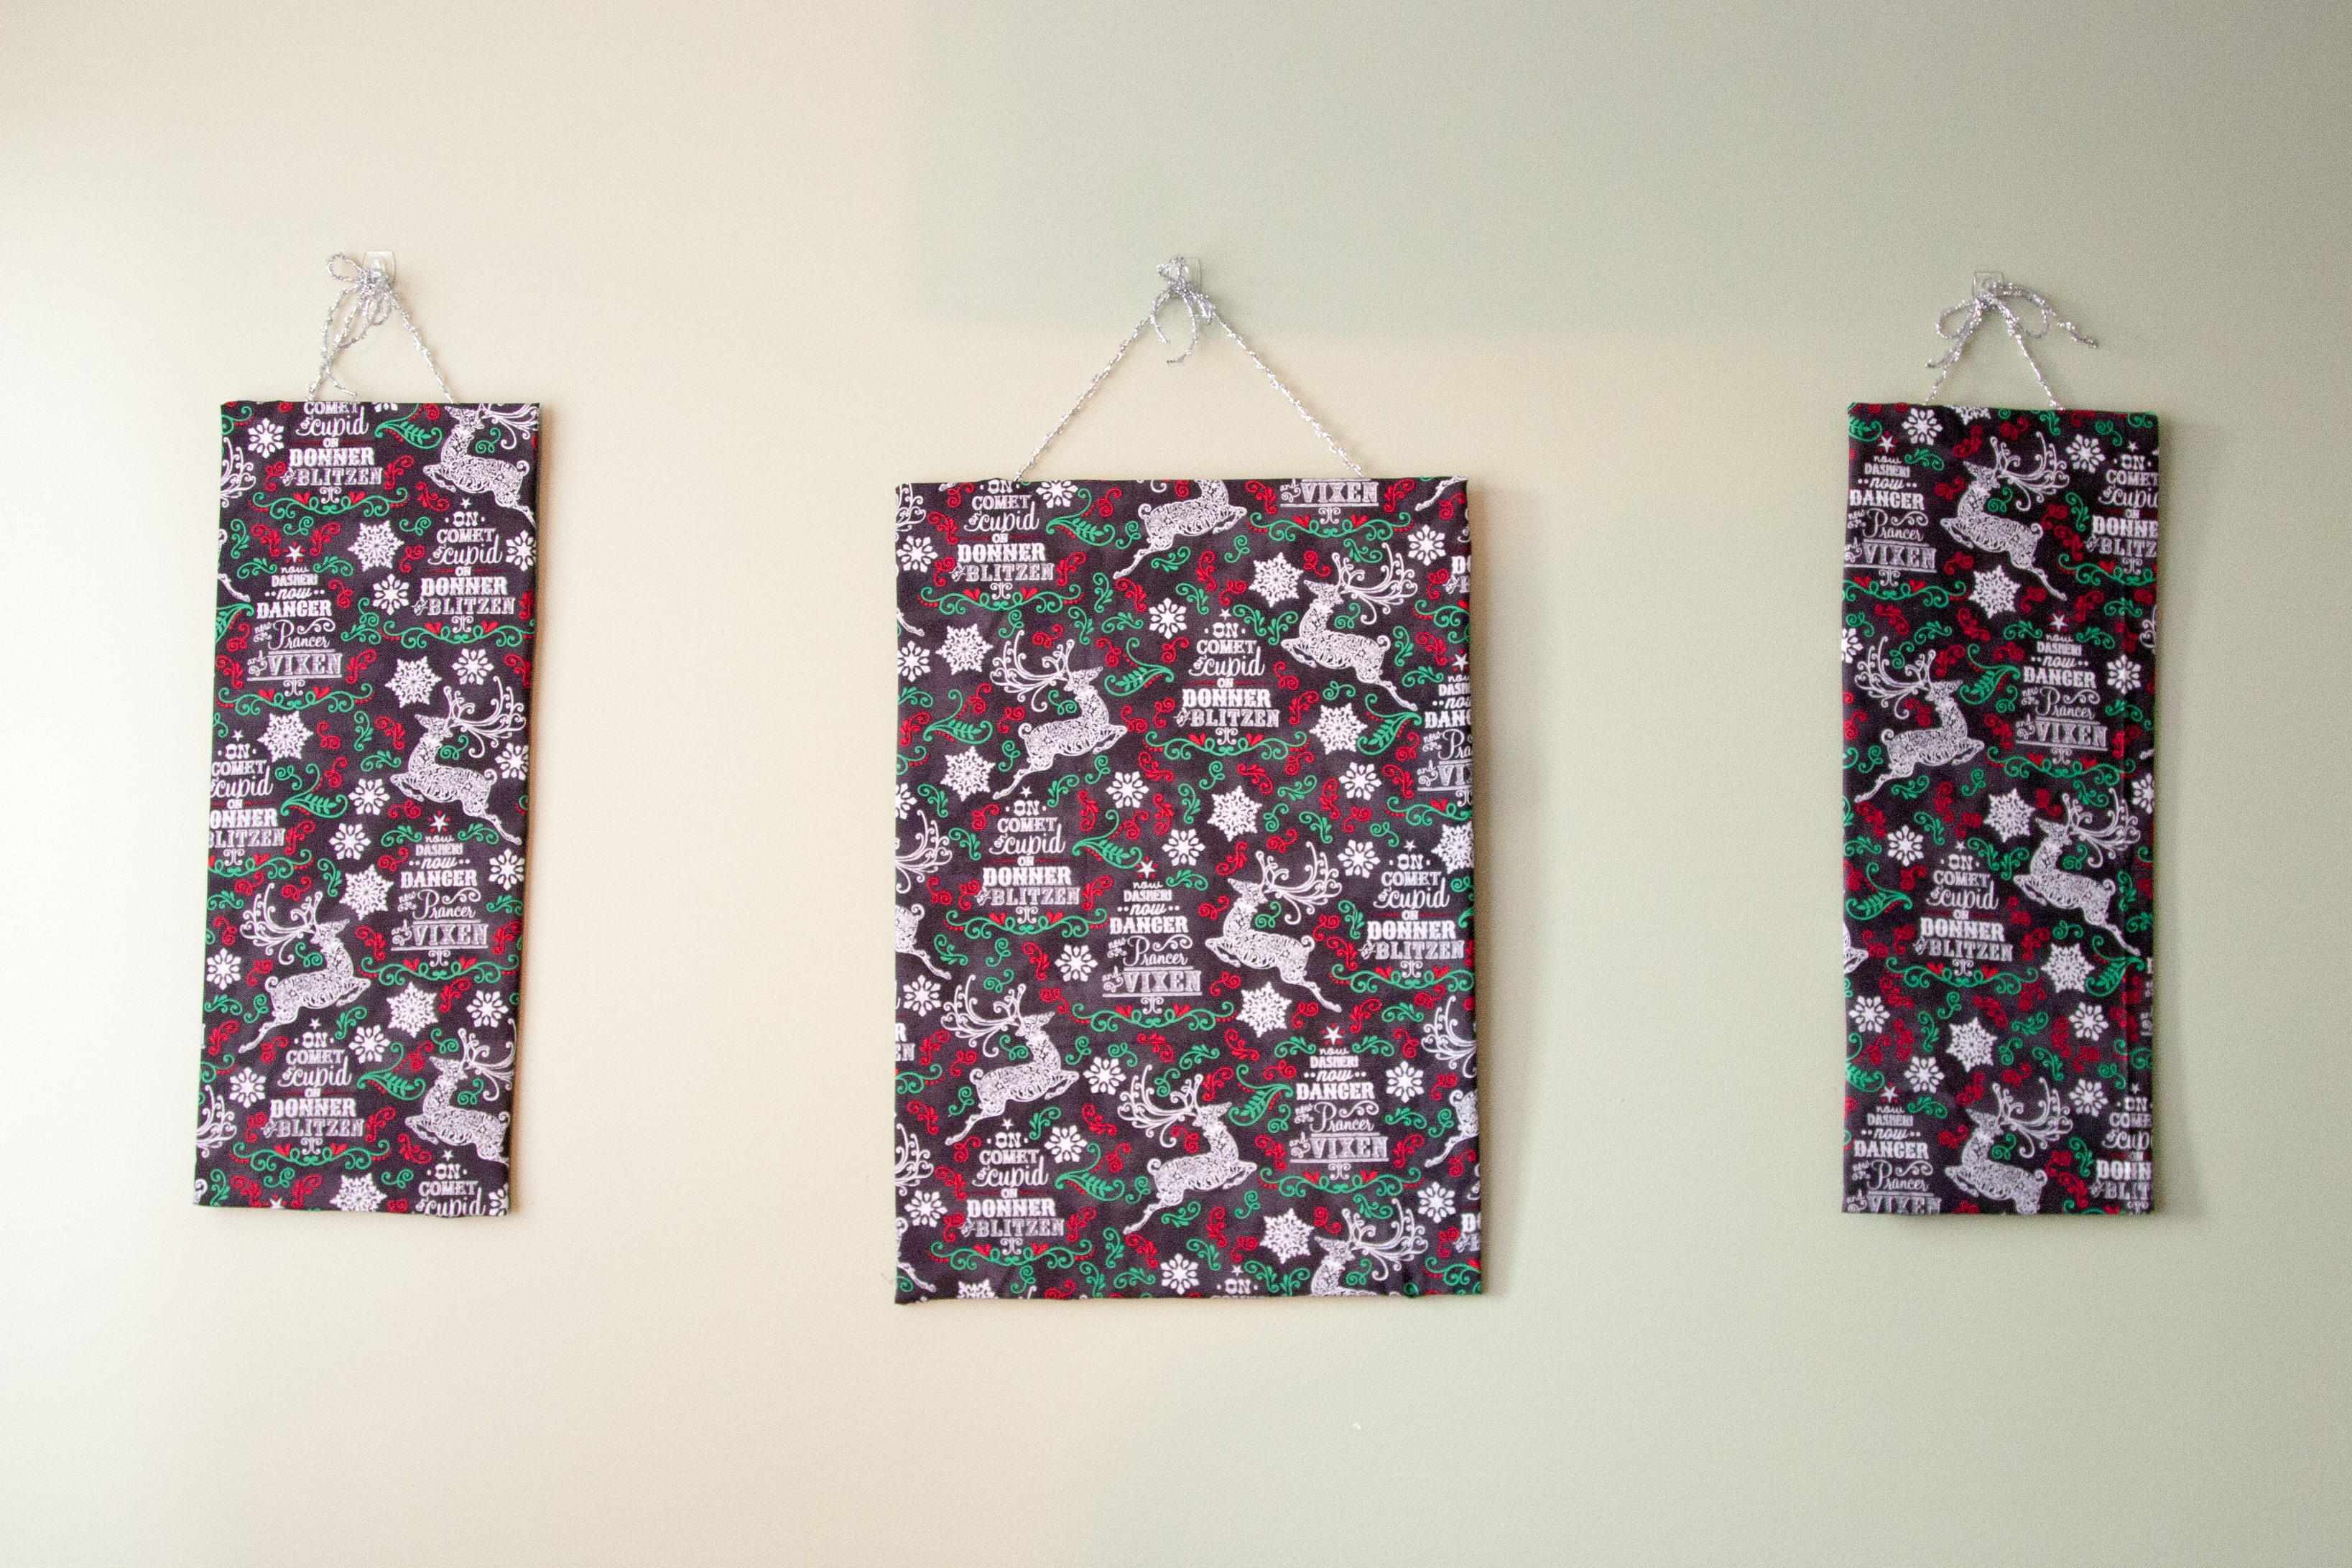
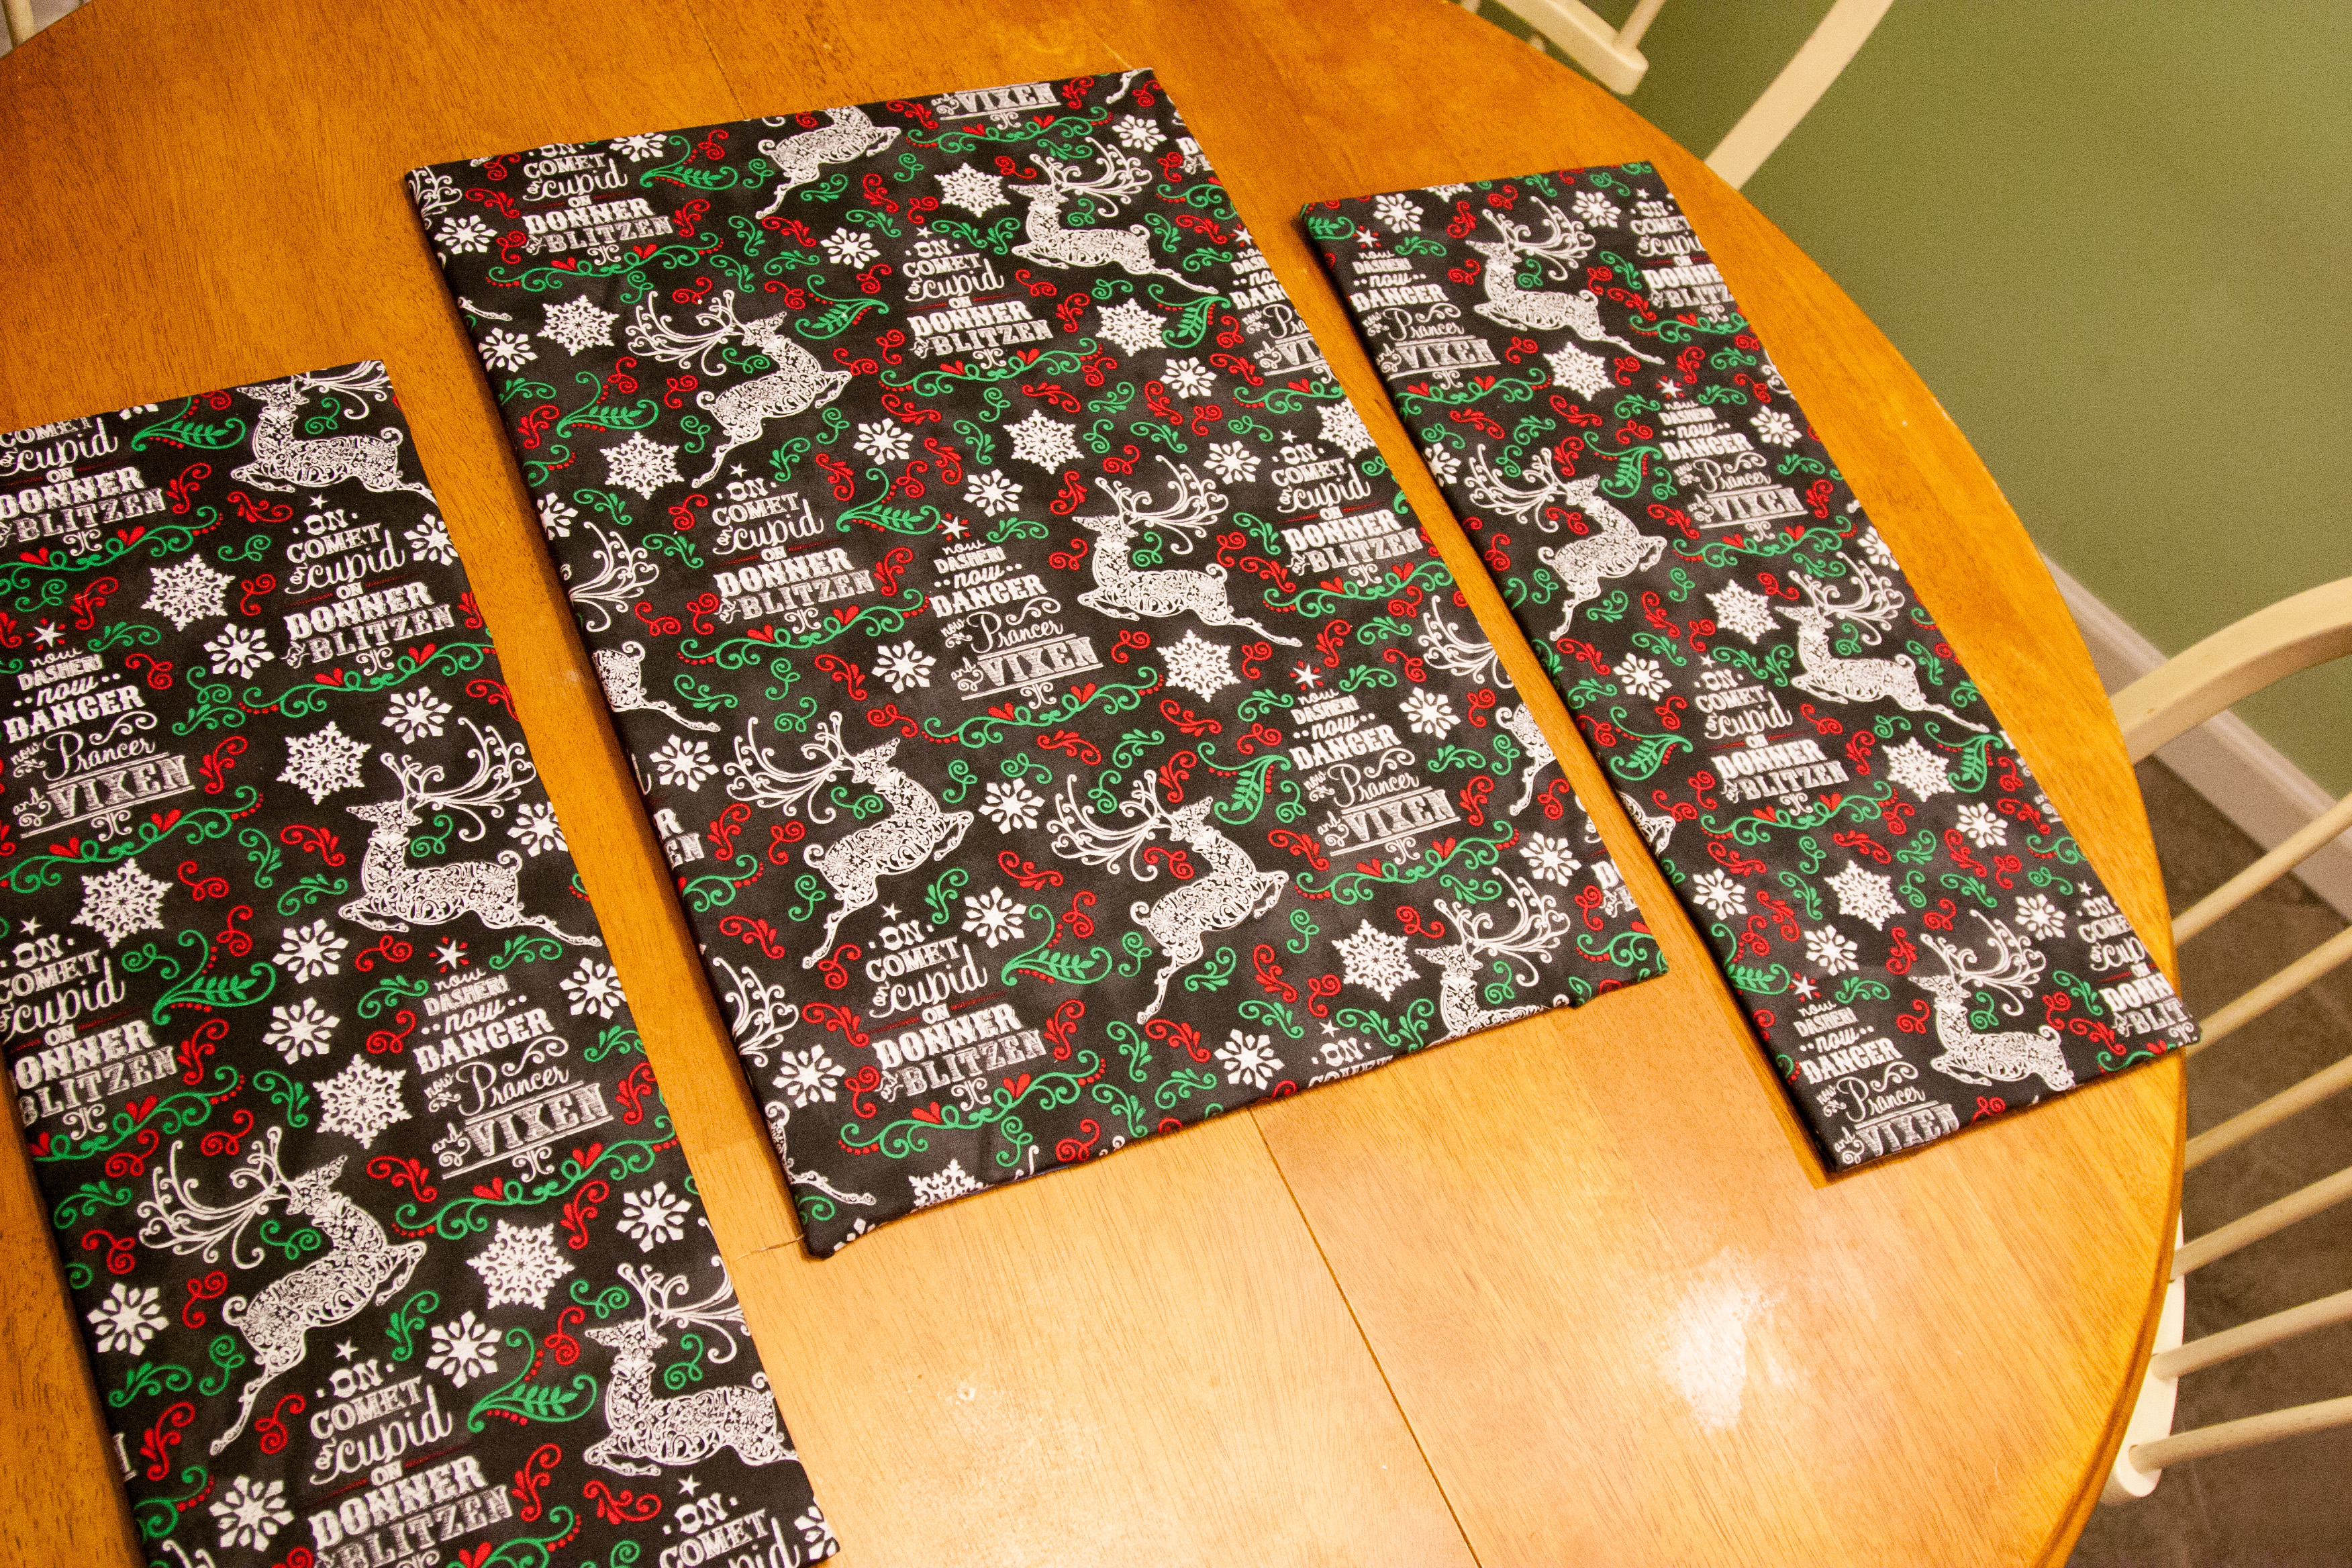
Cut your foam board into the different shapes and sizes you want the card holders to be.
Cut the fabric 1/2 to 1 inch wider than the corresponding foam board piece.
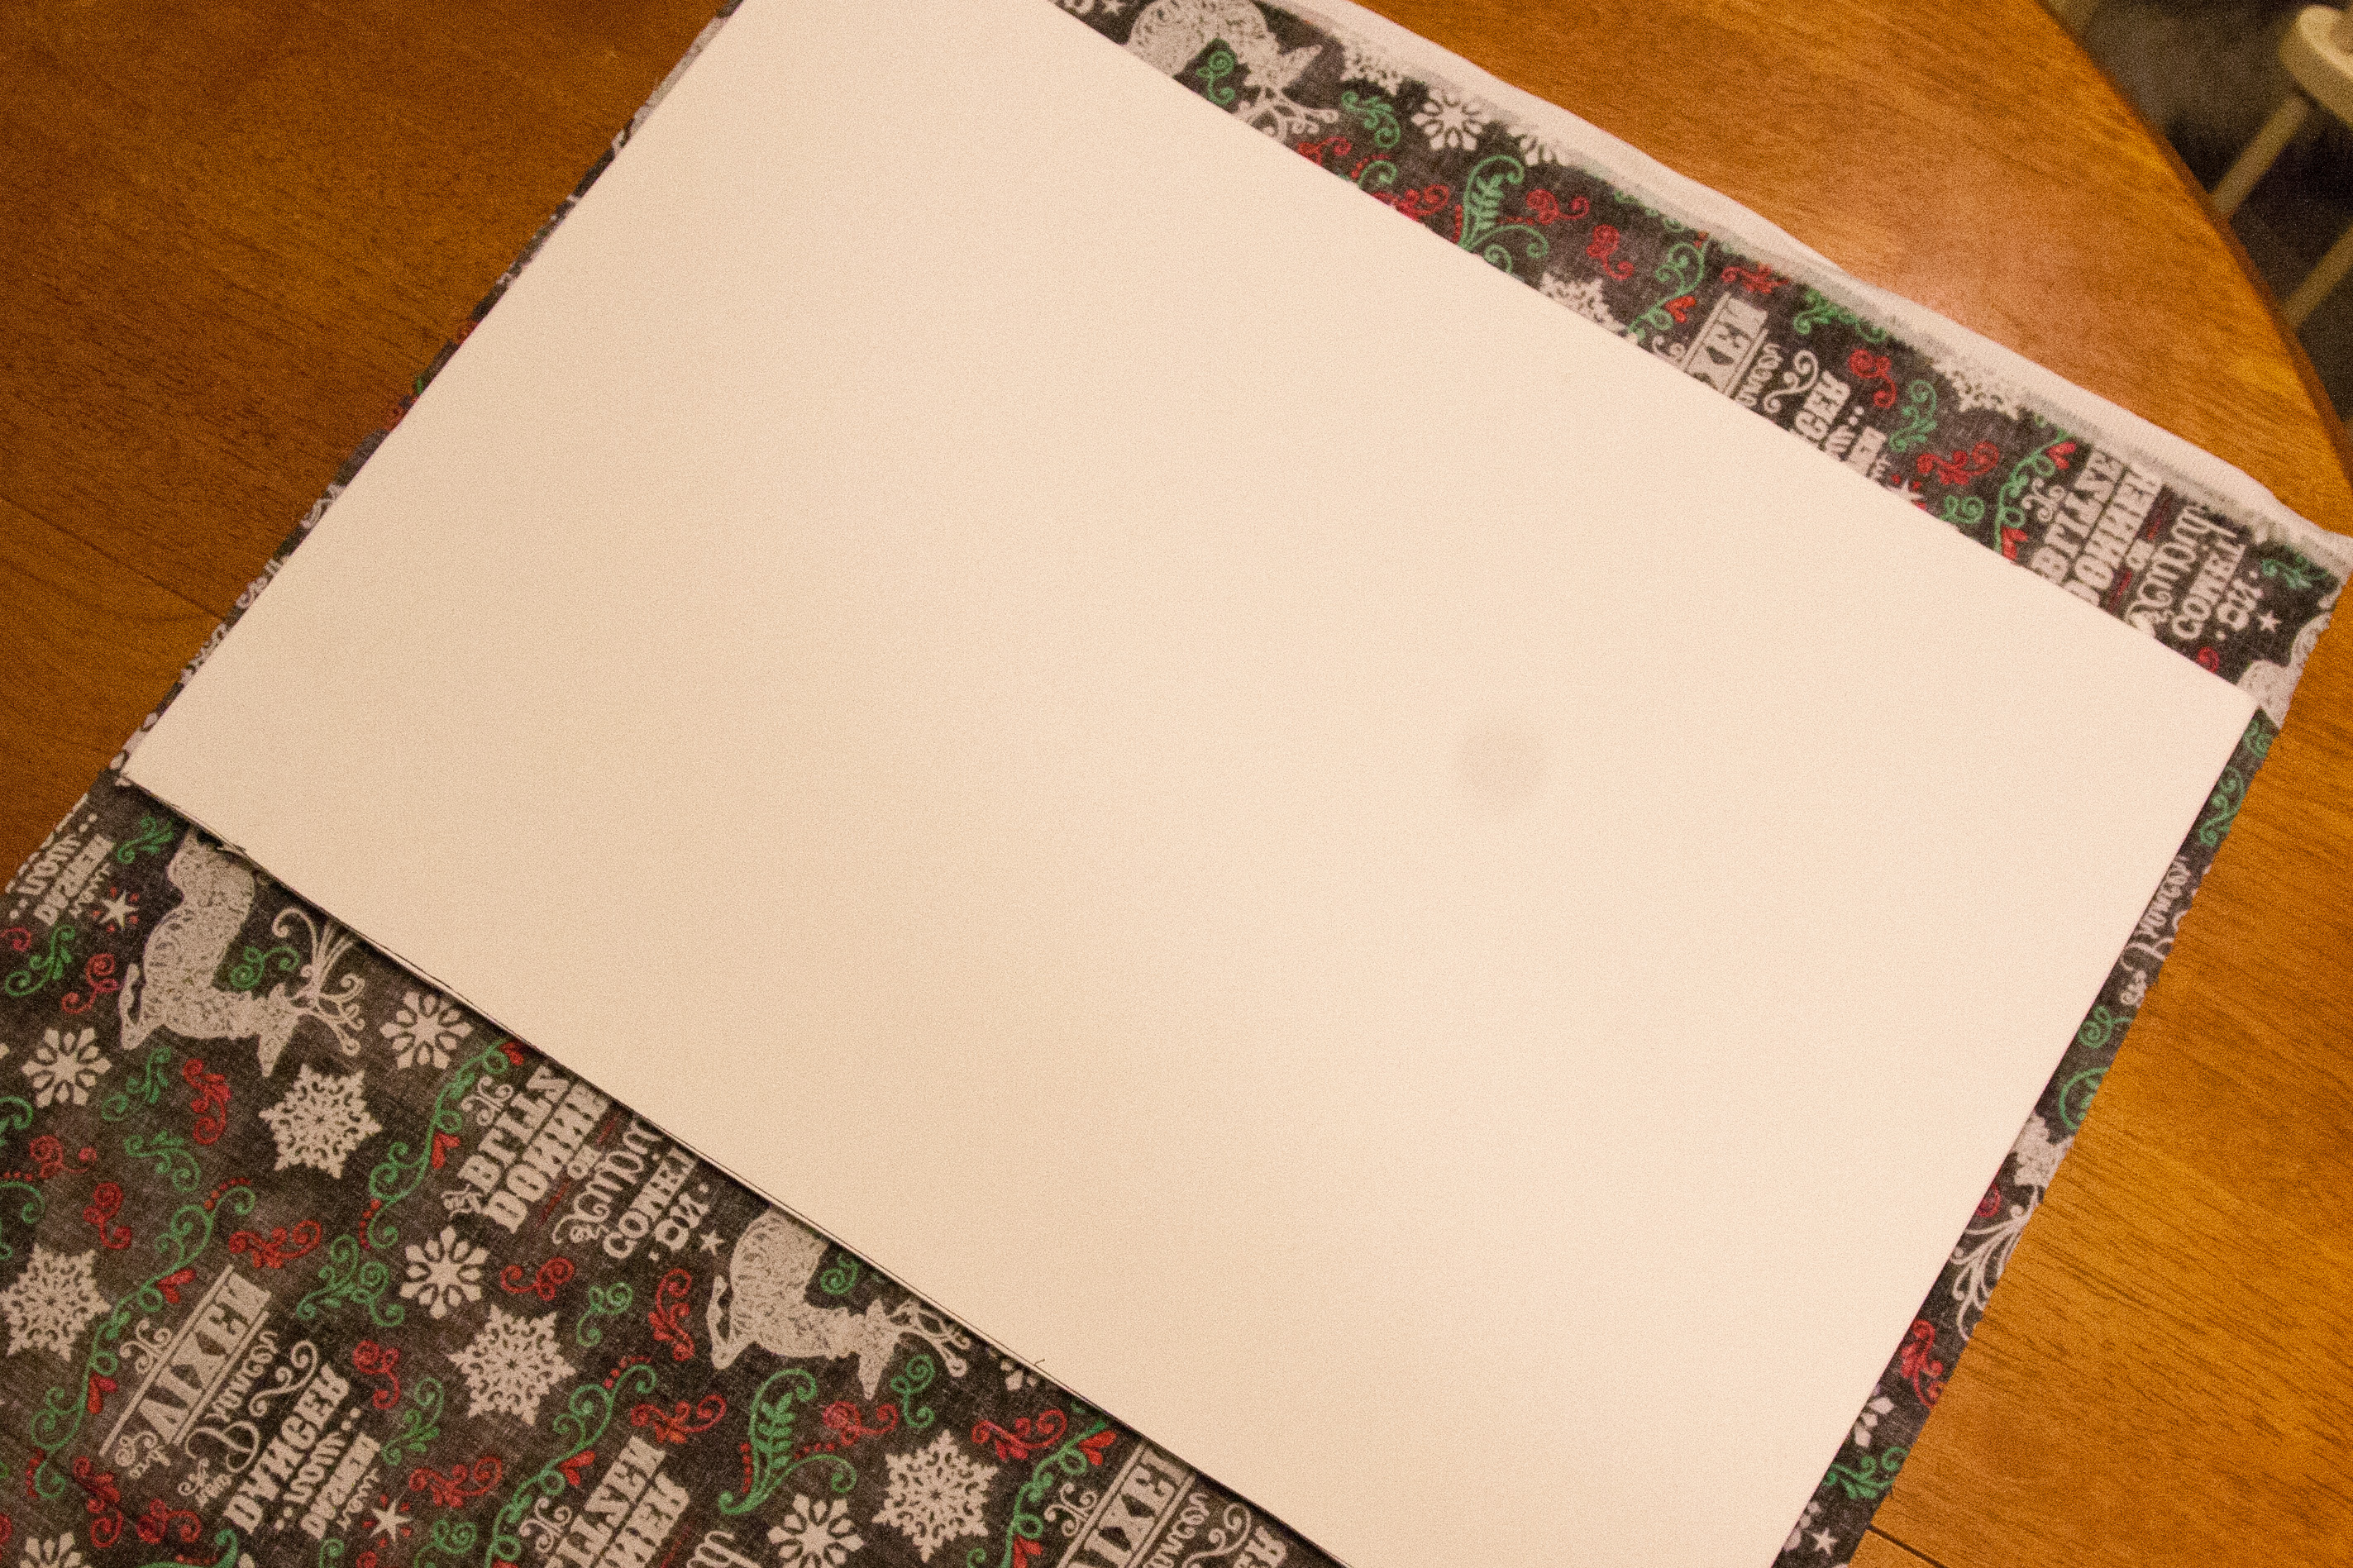
With a hot glue gun, glue the fabric tight to the board. You want to ensure you have tight edges by pulling the fabric flat against the edge of the foam board.
Take your ribbon or string and cut a piece long enough to hang your boards at the length you would like. Then cut the piece in half so you have two sides to tie together.
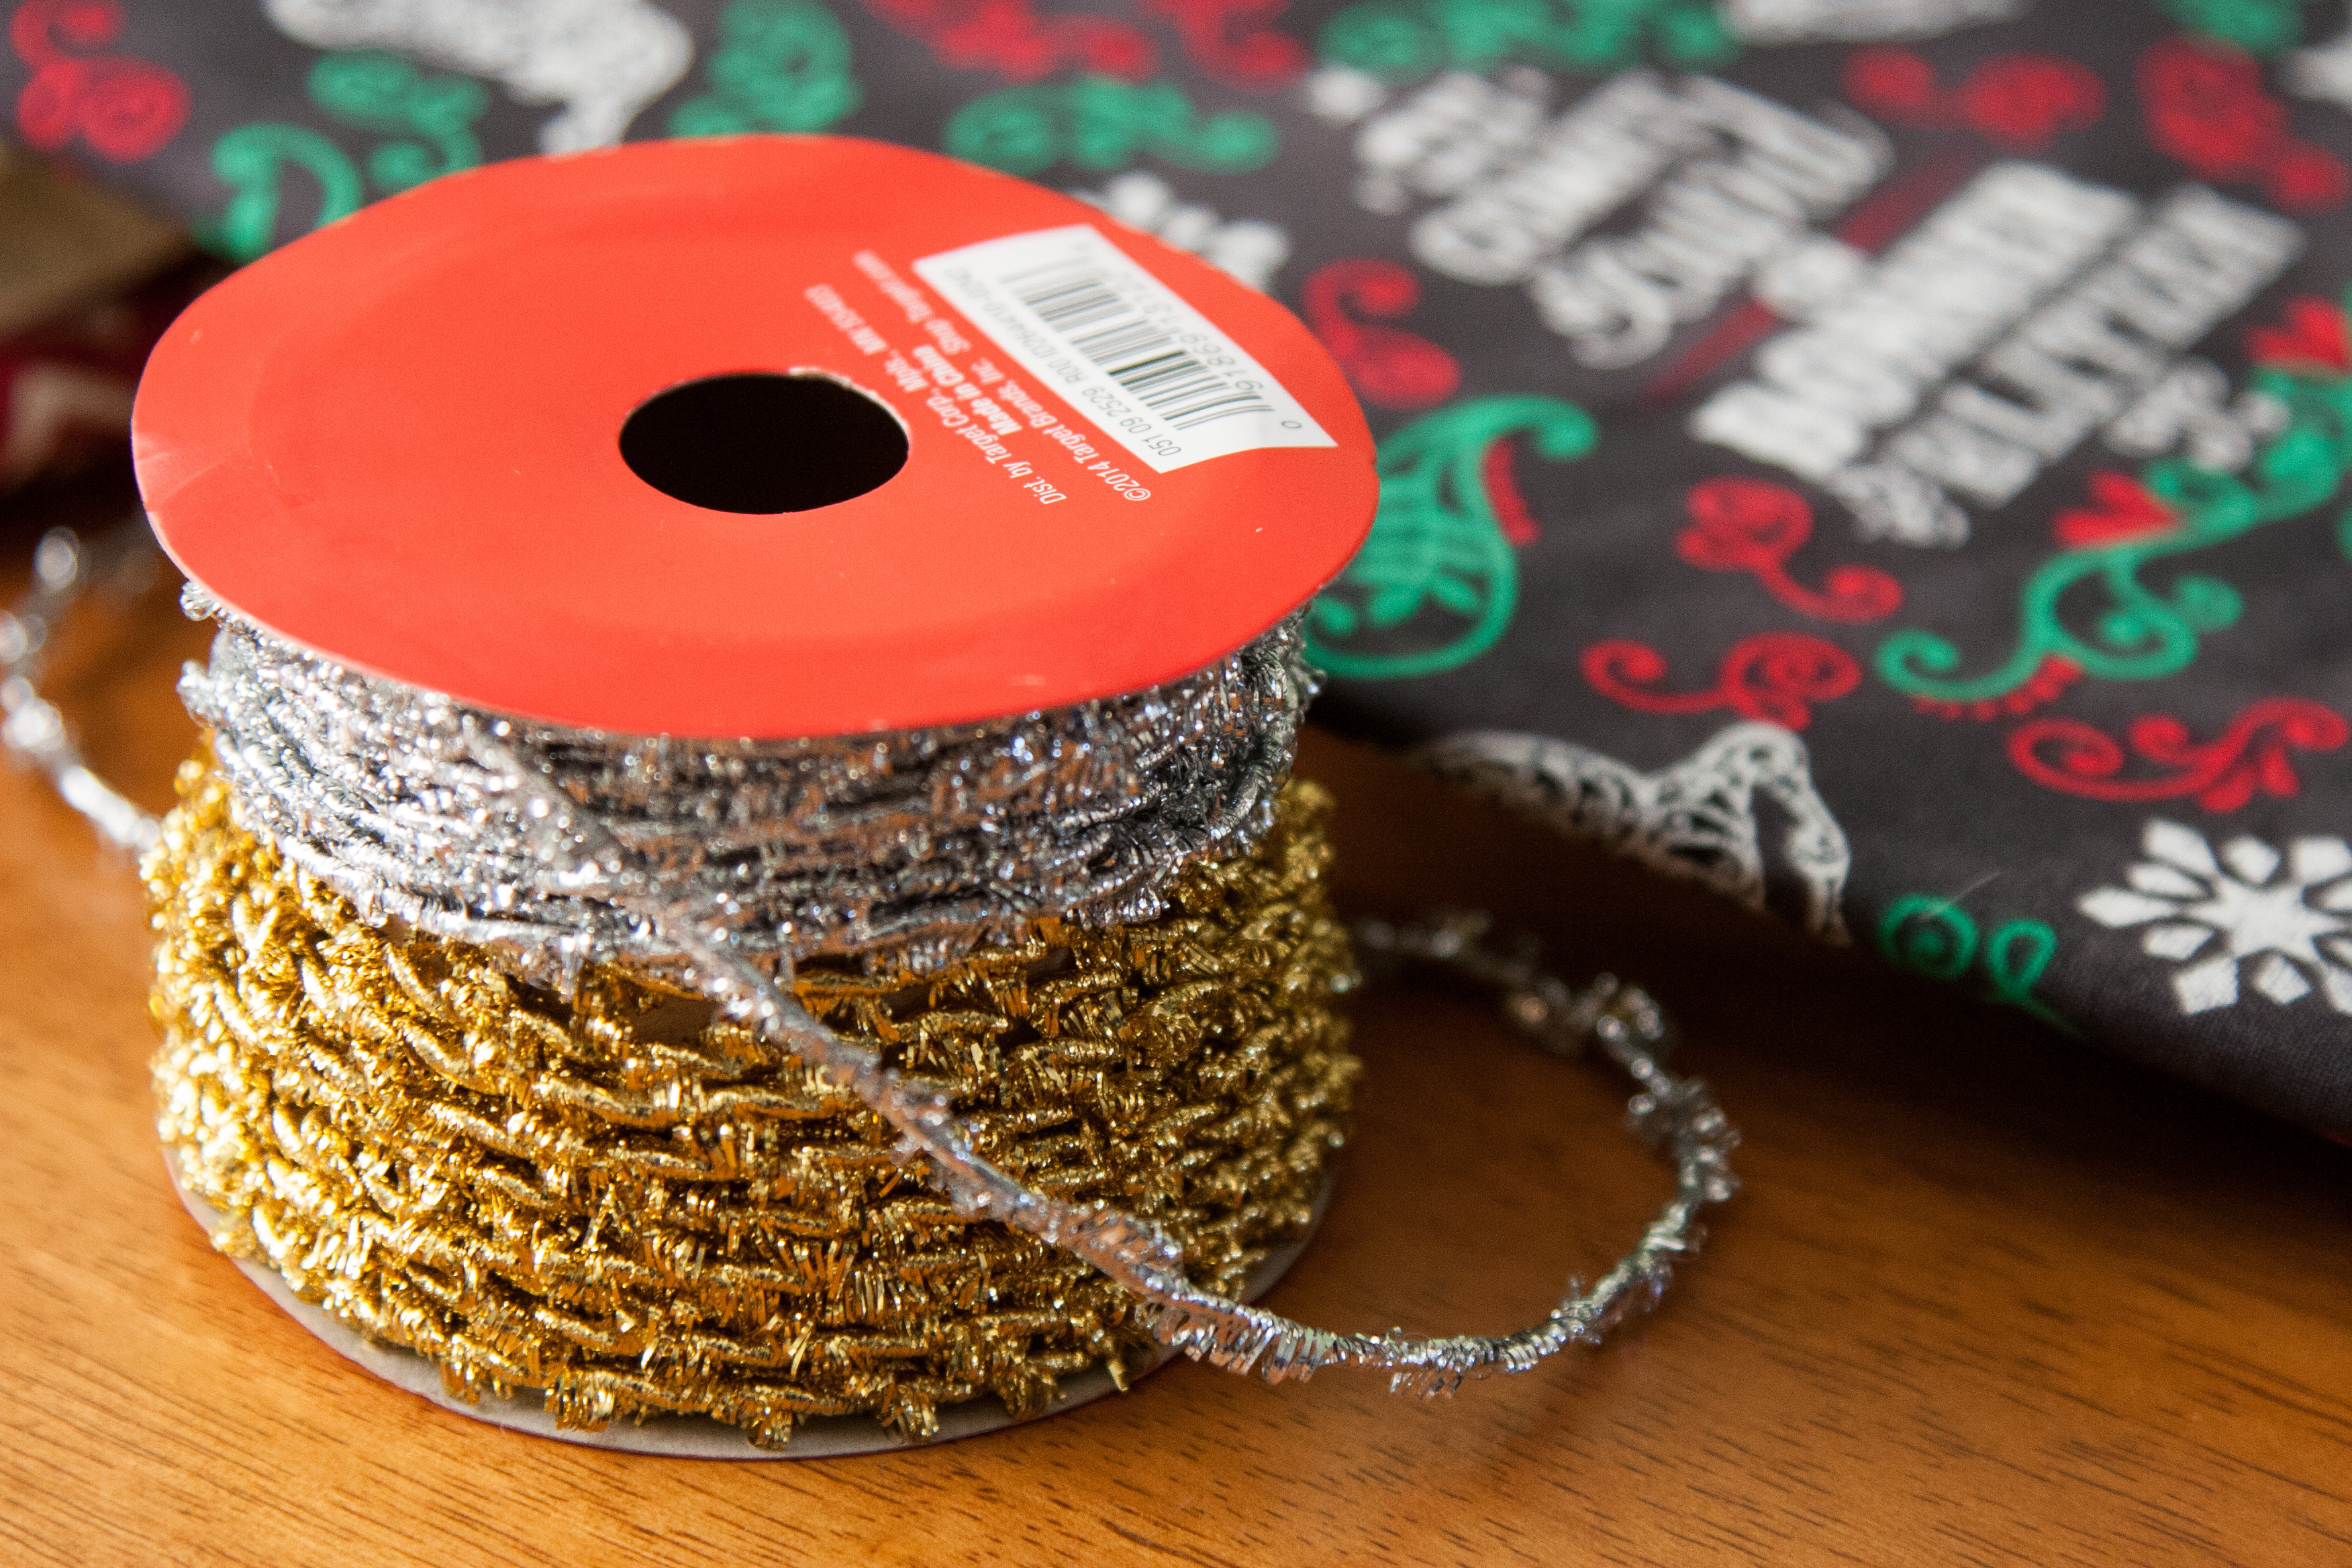
Glue each piece of ribbon or string about 1/2 inch away from the outside edges of the foam board.
Tie the two pieces of ribbon or string together into a bow.
You can now repeat the above steps on each of the separate foam board pieces.
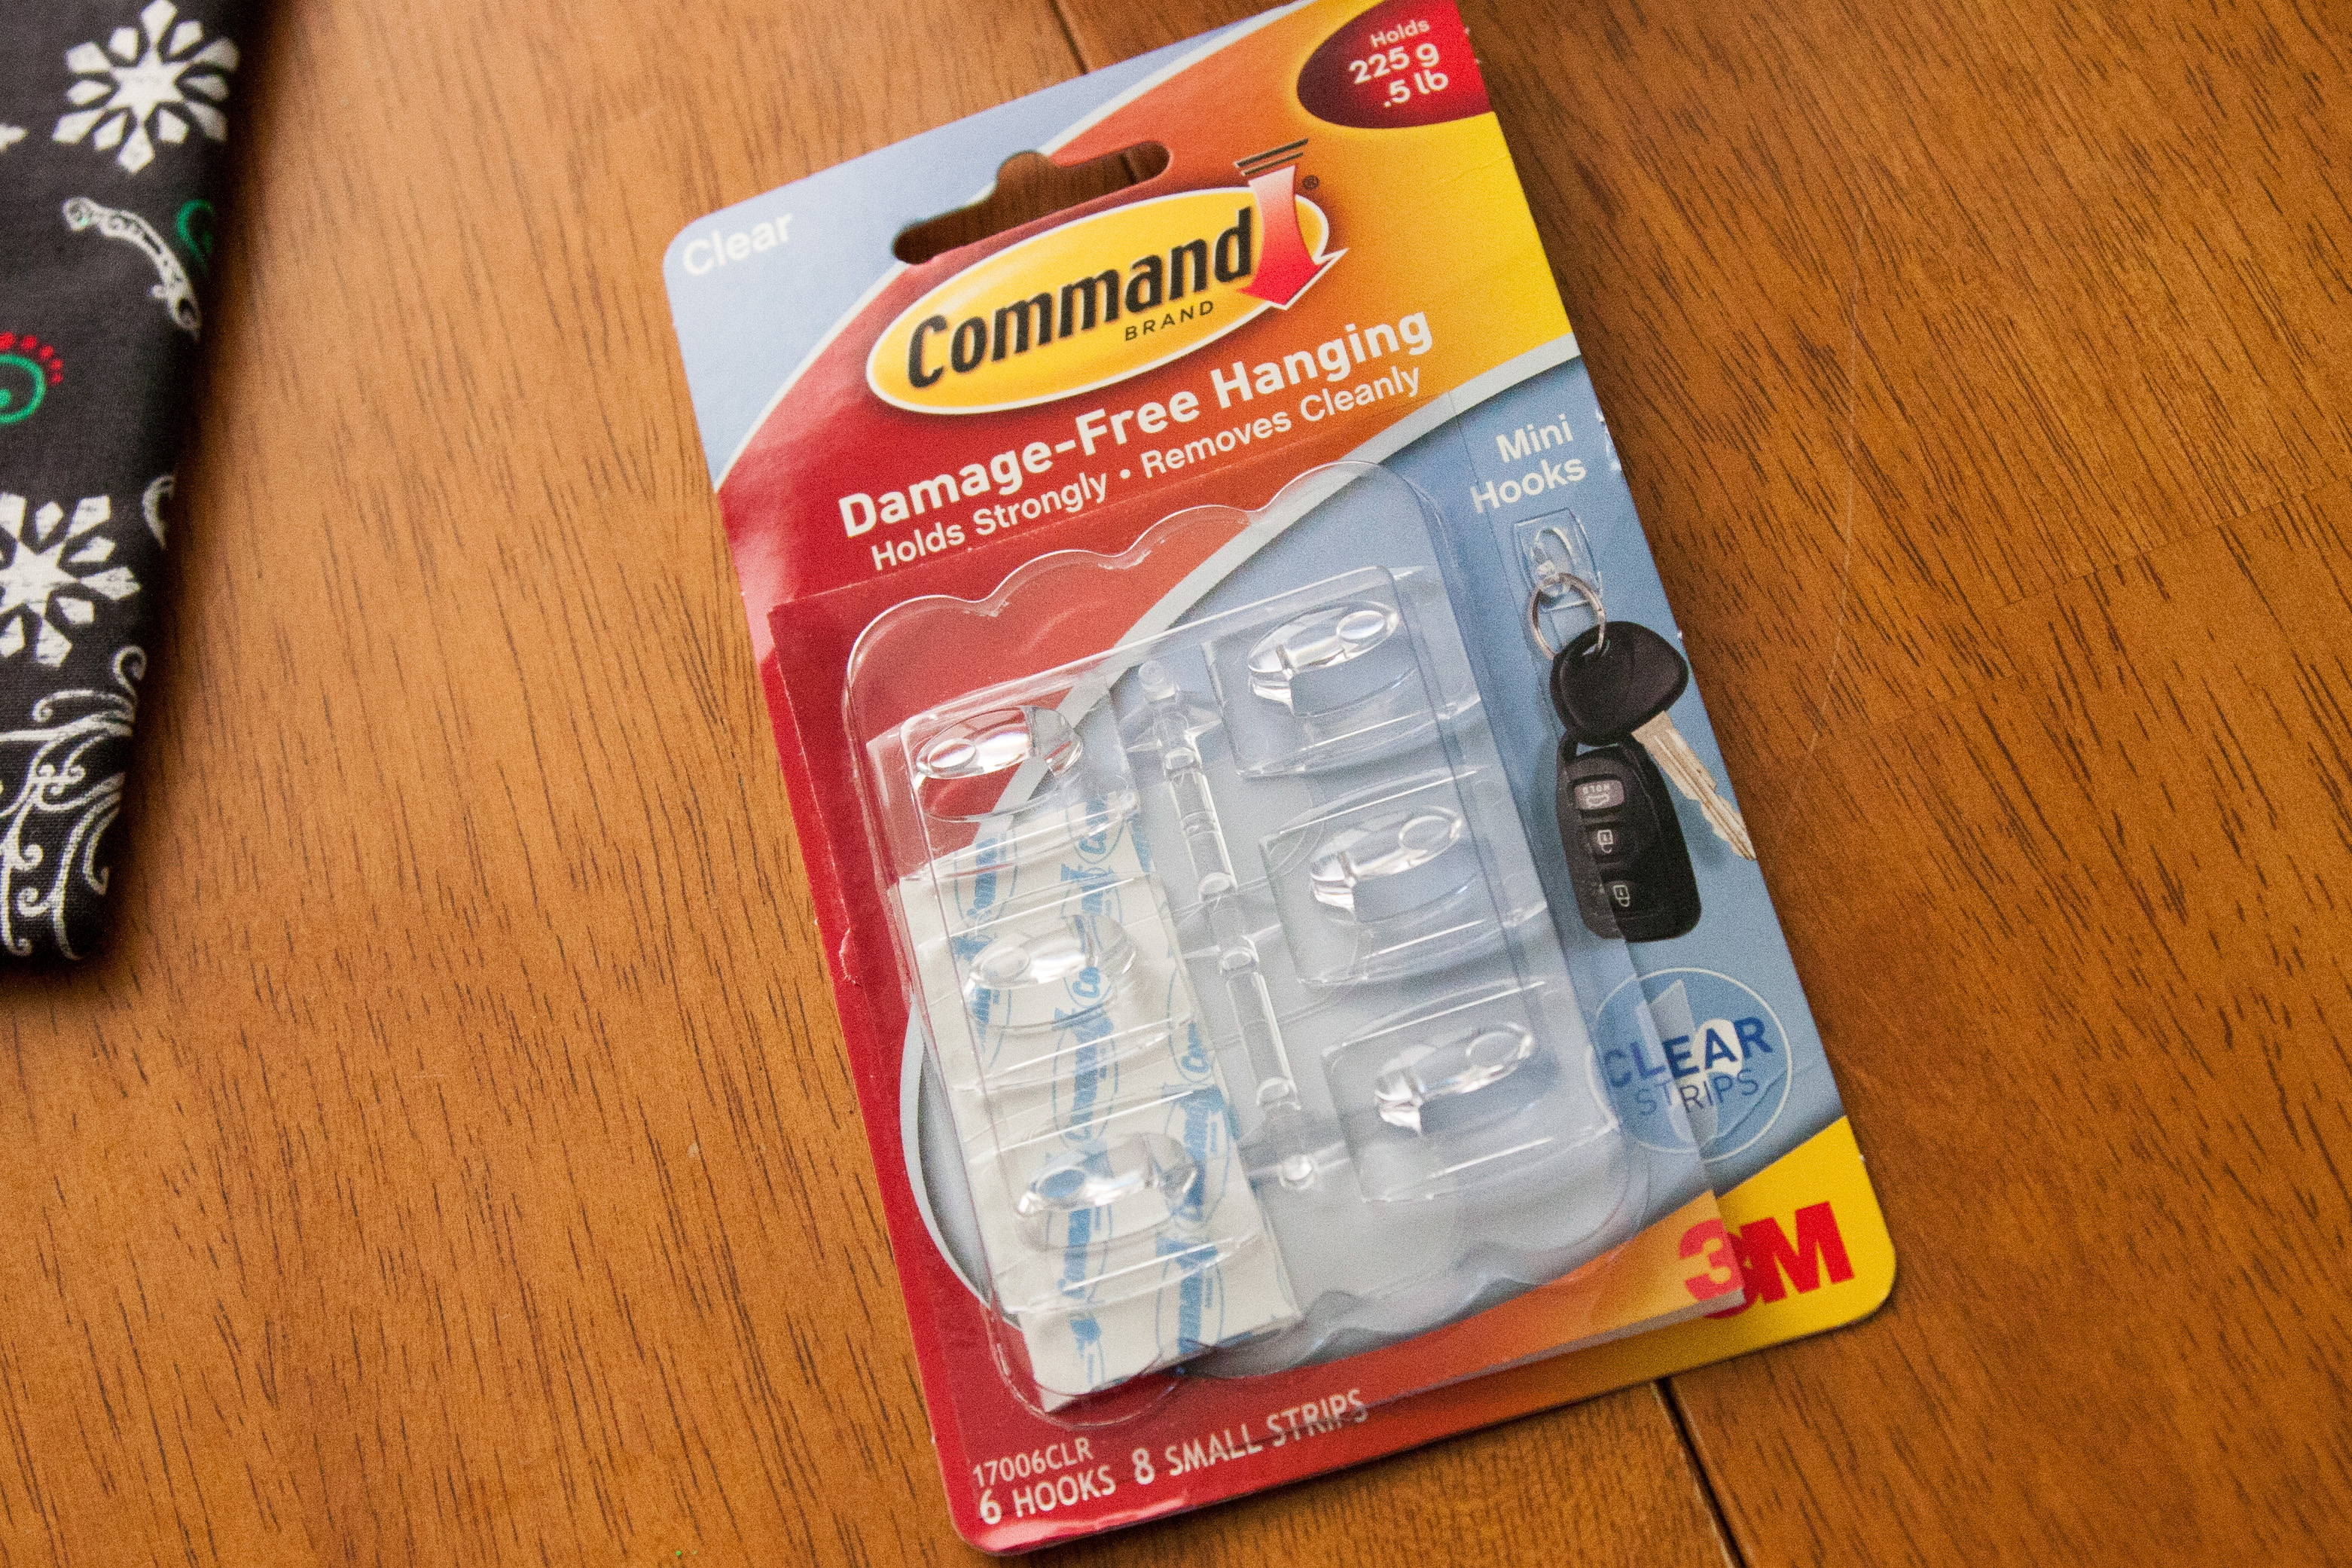
If you do not want to put random holes in your walls, I used Command Brand: Damage Free Hooks. They offer smaller hooks which are easily hidden by the ribbon. It only took me a few minutes to install.
Now go ahead and hang your new festive card holders! If you’re anything like me, you’ll spend more time trying to get the boards even and level with each other than you did on the actual craft. Don’t fret if they are not perfect…I didn’t (much)!